
STANDARD PILLOWCASE WITH FRENCH SEAMS AND TRIM
STANDARD PILLOWCASE WITH FRENCH SEAMS AND TRIM

20-30 min project
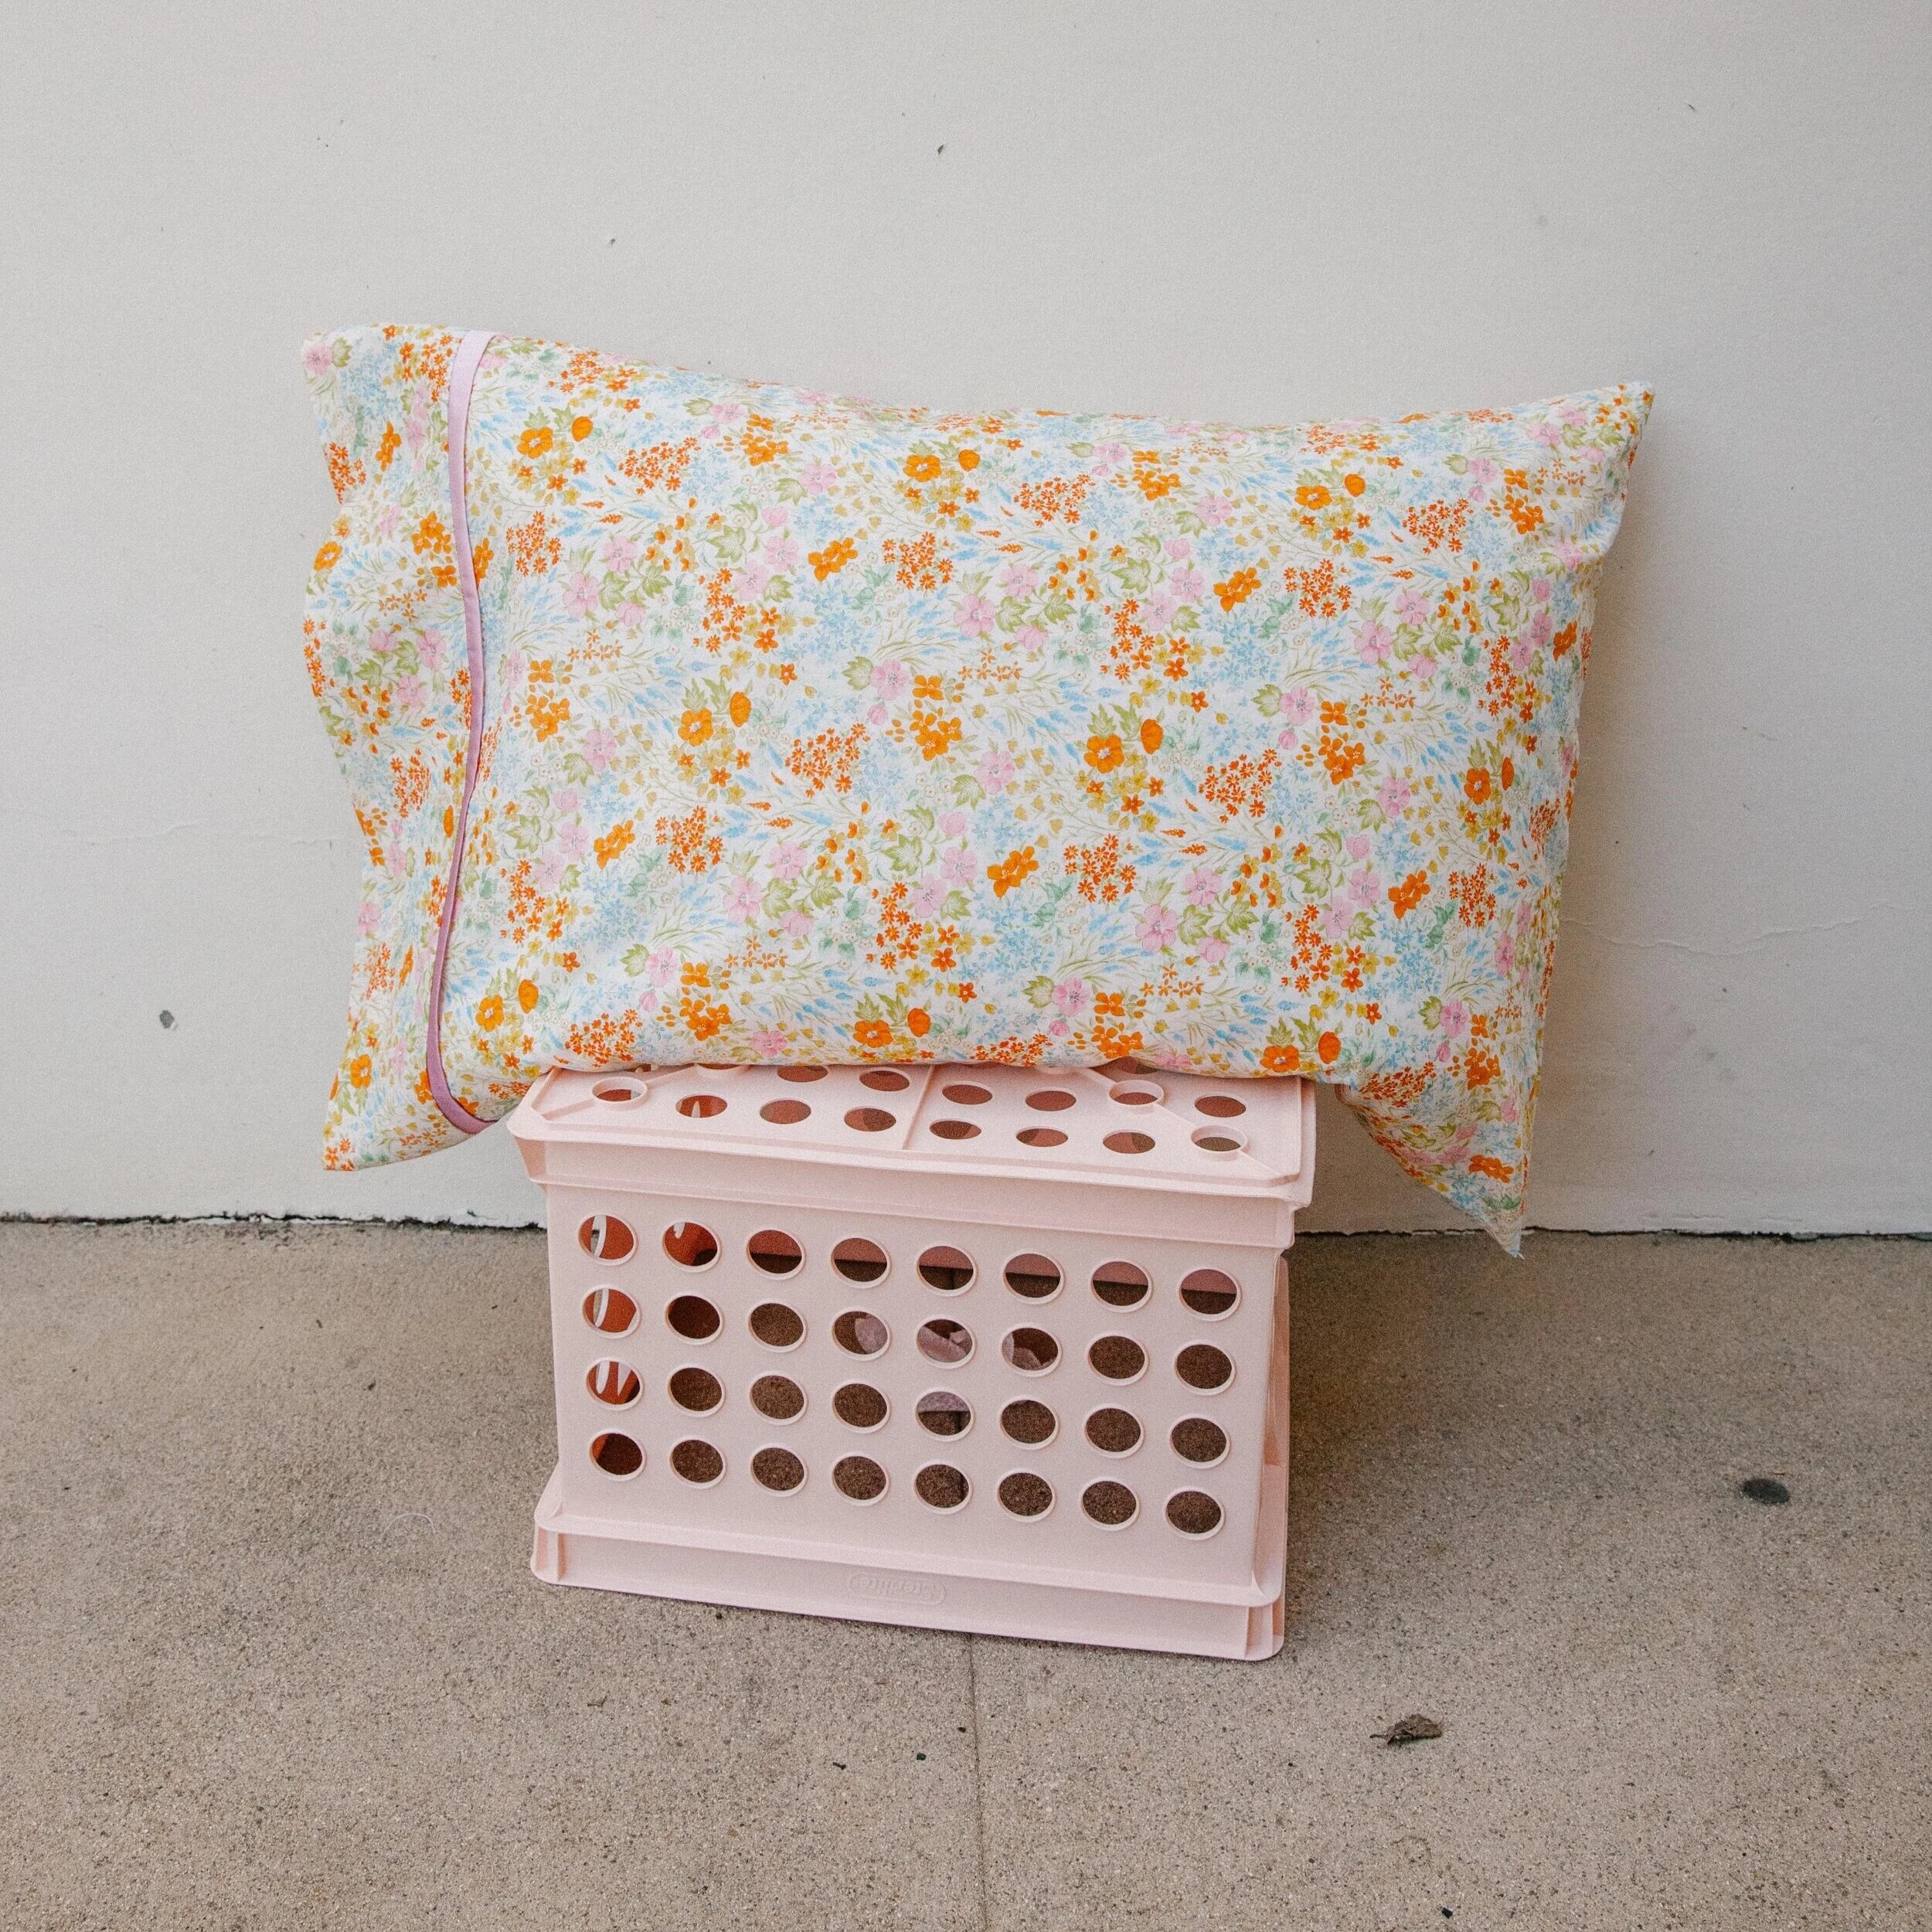
PROJECT: Learn to sew your own standard pillowcases with trim and professional French seam finishes!
SKILL LEVEL: Beginner. I am using a sewing machine to complete this project but if you don’t have access to one you can definitely hand sew your pillowcases. Though this will take more time, hand stitching can be a very therapeutic and rewarding process.
MATERIAL: I used some Sevenberry Japanese Cotton Lawn fabric for the main piece and a scrap of silk I had for the trim. Feel free to use your own fabrics, vintage materials, or cut up some old sheets that you no longer love and want to breath some more life into! My favorite materials for pillowcases are lightweight cotton, silk, satin, linen, or cozy flannel.
SKILLS: Learn to sew a professionally finished French seam and make your own contrasting trim from fabric scraps you already have.

1 yd fabric (cotton, silk, linen, old sheet..something cozy and cute!)
1/4 yd Trim Fabric (scraps are great for this)
Coordinating Thread
Fabric Scissors
Ruler
Iron
Pins
STEP 1 : CUT YOUR FABRIC OUT
Cut your main, cuff, and trim fabric as follows:
Main: 41” x 27”
Cuff: 41” x 9”
Trim: 41” x 1.5”

STEP 2: PREPARE TRIM
Fold trim piece in half with wrong sides together and right sides facing out. Iron the trim flat.
STEP 3: SANDWICH TRIM BETWEEN MAIN PIECE AND CUFF
Place the main piece of fabric right side up. Place the trim with raw edges facing out along the top of the long edge of the main fabric.

Place the cuff piece right side down being sure all the top edges are lined up. Pin or clip into place!


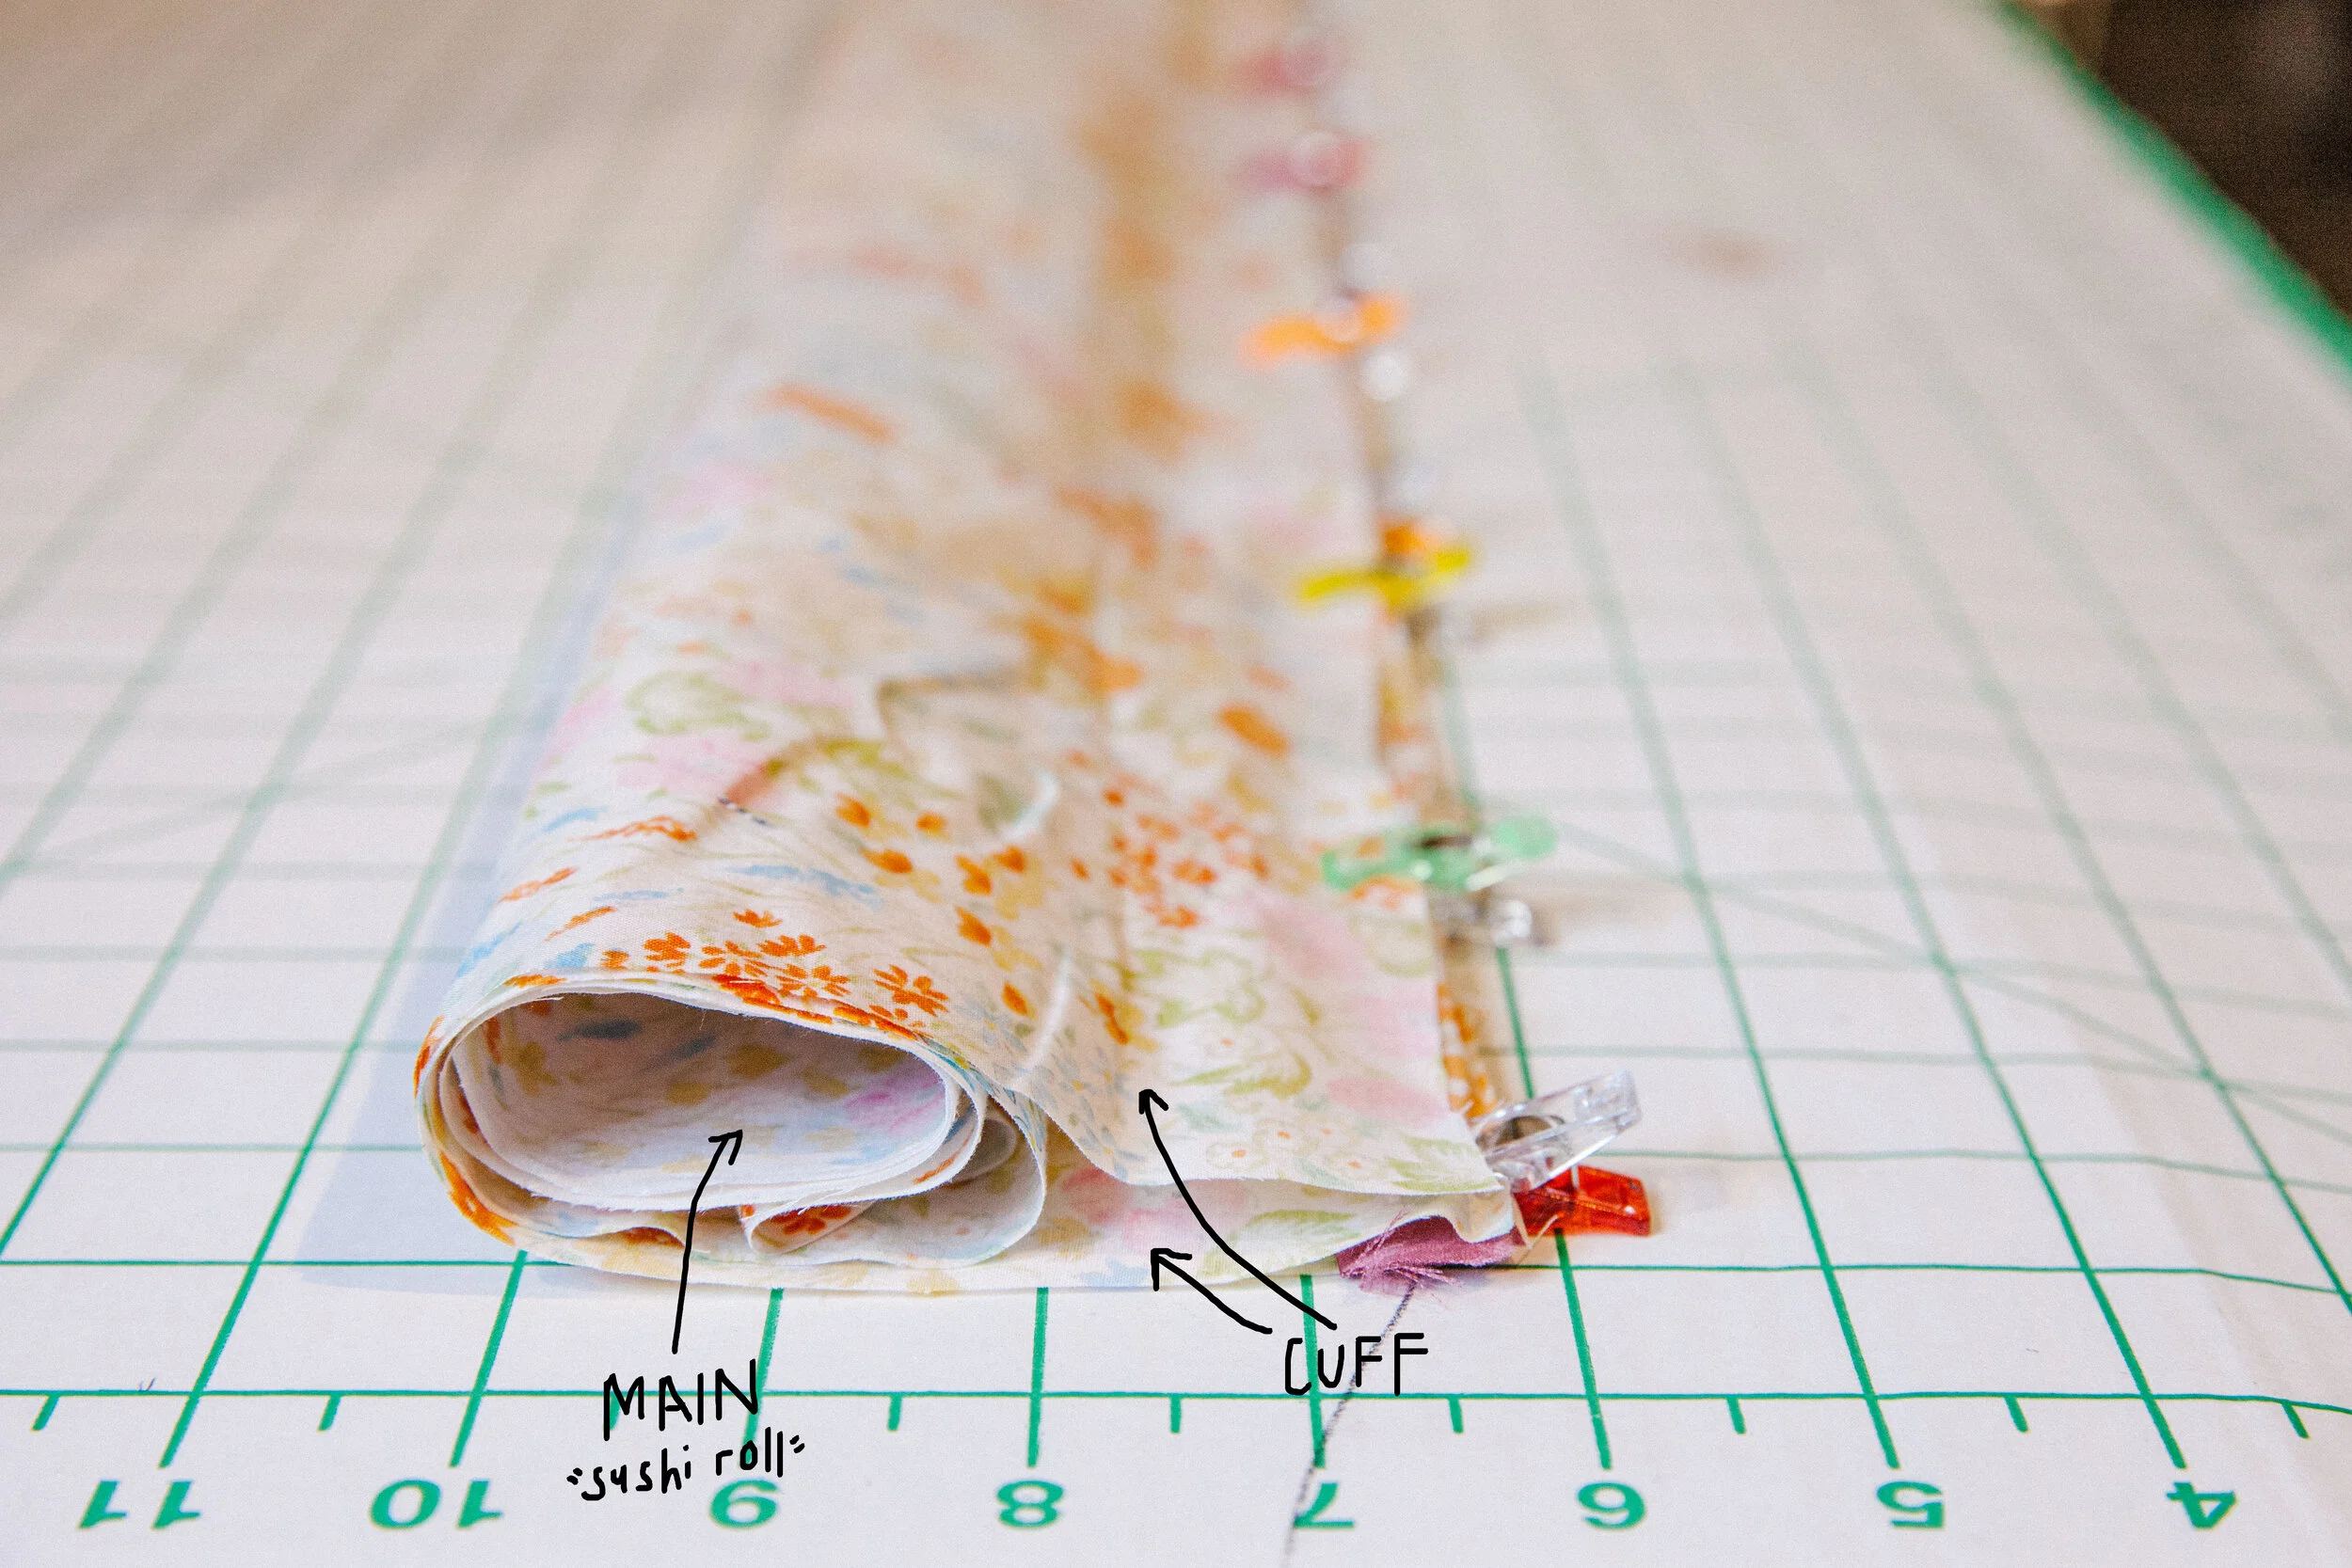
STEP 4: ROLL UP MAIN FABRIC LIKE A SUSHI ROLL
Flip over your pinned pieces so the cuff is on the bottom and your main piece is on top. Roll up main fabric in a tube like a sushi roll to get it out of the way. You should see the bottom edge of the cuff peeking out from under your “sushi roll”.

Fold up the bottom edge of the cuff up and over the main fabric sushi roll. Line up the edges and pin into place. If you look from the side, the cuff fabric should completely surround the main fabric.

STEP 5: SEW RAW EDGE
Sew pinned edges together using 1/2” seam allowance*. Be sure to catch all layers of fabric (top cuff edge, main edge, trim, and bottom cuff edge). Pay close attention to making sure your trim is being sewn as it can sometimes shift. Remove pins or clips as you sew.
*Seam allowance = how far from the raw edge you should put your stitches.
STEP 6: PULL MAIN FABRIC OUT FROM SUSHI ROLL
Gently pull the main fabric out from inside your sushi roll so your cuff piece is now right side out. Iron your cuff & trim piece flat.

STEP 7: FRENCH SEAMS STEP 1
Fold pillowcase in half lengthwise with wrong sides together and pin into place.

Sew along pinned raw edges with 1/8” seam allowance. Take special care that your cuff edges line up so you get a clean edge in the opening of your pillowcase. Pro Tip: When turning the corner from one raw edge to another simply leave the needle down in the fabric, lift your presser foot, and pivot the fabric to continue sewing along the second raw edge.

Turn entire pillowcase inside out and make sure to poke out the corners so you have nice, squared off edges. Press entire pillowcase flat with an iron.

STEP 8: FRENCH SEAMS STEP 2
Sew along same edges as you did in step 7 but this time using a 1/4” seam allowance. The goal is to encase the previous seam in order to hide it within the new seam. I like to feel the first seam as I go to make sure the needle is on the left of the first seam. Remember to lift the presser foot and pivot the fabric as you did before to make a smooth right angle as you sew along one raw edge to another.

Trim all excess threads for a clean finish.

You should now have a beautiful French seam enclosing the seam allowance on the inside of the pillowcase so that no raw edge is visible.

YOU’RE DONE!
Turn your pillow case right side out, press once more for crispy edges, and marvel at your work!


