
CLOTH N95 MASK ALTERNATIVE
CLOTH N95 MASK ALTERNATIVE


20-30 min project
PROJECT: Learn to sew n95 mask alternatives to use as either covers to prolong the life of your n95 or as a last resort when n95 masks aren’t available.
SKILL LEVEL: Beginner.
MATERIAL: The CDC recommends a tightly woven cotton material but pillowcases and cotton t-shirts have also been examined as alternatives.
WHERE RAT BOI MASKS ARE GOING
Masks for Healthcare Providers
As some of you know I am in the process of sewing masks to be donated to local healthcare providers here in Ventura, CA. I am working with a team of 75+ seamstresses locally who are all donating their supplies, materials, and time to join this cause. Our efforts are coordinated by the Healthcare Foundation for Ventura County. These masks will be used countywide. Point of entry will be Ventura County Medical Center for dissemination which is part of the Ventura County Health Care Agency. Ventura County Health Care Agency also houses Emergency Medical Services which takes care of all medical in the region through Ventura County Public Health.
Masks for Grocery Employees
As you know, many of our local grocery employees are showing up for work every day so we can shop and get our necessities to quarantine from home. Due to the shortage of n95s, many of these employees must work without protection. Due to their heightened potential exposure to the virus, I am also coordinating a grassroots effort to equip our clerks with cloth mask alternatives to better protect themselves and others from exposure to coronavirus.
If you feel compelled to support our efforts here at RAT BOI, please consider sponsoring an at risk member of our community.
If you are a fellow seamstress who wants to sew masks to donate but don’t yet have a place to donate, please consider joining this facebook group.
Let’s #flattenthecurve. We are in this together.
EFFICACY OF SEWN MASKS AS N95 ALTERNATIVES
When articles came out about the need for sewn masks as n95 alternatives I felt empowered to help in a situation that otherwise has been feeling very helpless. I am not a scientist, healthcare provider, or expert. I am a seamstress who’s done a lot of research on the internet. I’ve compiled key points here, but please do your own research and follow guidelines posted by your public health department.
According to the CDC, “In settings where facemasks are not available, HCP [health care providers] might use homemade masks (e.g., bandana, scarf) for care of patients with COVID-19 as a last resort. However, homemade masks are not considered PPE, since their capability to protect HCP is unknown. Caution should be exercised when considering this option. Homemade masks should ideally be used in combination with a face shield that covers the entire front (that extends to the chin or below) and sides of the face. Read the full report here.
MASK CARE
For best protection wash your cloth mask daily in hot water and dry on high as well. Wash your hands before putting your mask on and avoid touching and readjusting your mask throughout the day. If you are sharing your mask with a friend or family member be sure to wash it between users to avoid any possible contamination.
OUR PATTERNS
We are sharing 2 patterns that we are sewing for our healthcare providers and grocery clerks. The first option is made with fabric ties, and is adapted from this pattern and for our healthcare providers. It takes slightly longer to make but it is more durable and will survive daily hospital laundering. This style is required by our county but I have seen other people making ones with inserts for filters. This tutorial includes instructions for filter inserts if that is something you require. Our second pattern is adapted from Deaconess and uses elastic as well as a wire insert at the nose for contouring. These masks are made as a last resort option but are certainly better than nothing. If you would like to see more about the efficacy of different materials in comparison to the surgical mask at filtering virus particles, click here.
LET’S SEW!

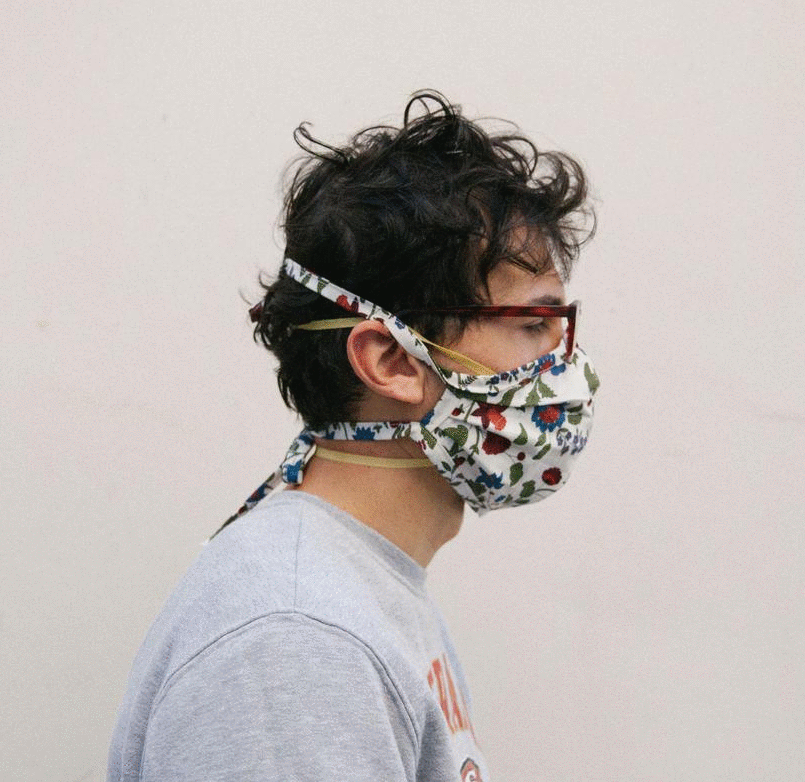
Our first pattern is a durable n95 mask cover intended for healthcare providers to prolong the life of their n95 masks. This durable cloth mask with fabric straps is large enough to encase an entire n95 mask and is meant to be washed daily. It can be used as an alternative when n95s aren’t available but will not provide the same level of protection as an n95 mask. This pattern is slightly adapted from this amazing tutorial!

-Fat quarter of tightly woven fabric
(100% tightly woven cotton or similar material,
the tighter the weave the better)
-Thread
-Fabric Scissors
-Ruler
-Iron
-Pins
STEP 1 : CUT YOUR FABRIC OUT

Either download the pattern and print it out on 8.5” x 11” paper (being sure the 1” square measures 1” on your pattern), or create your own pattern using the template above.

Fold your fabric in half and cut 2 pieces of mask fabric on the fold. Now we need to cut 1.5” wide strips of fabric to make our straps. We will need a total of 86” of strap material but because you are likely using scraps there is no set length for these strips. Just cut enough strips so you can sew them together to make 86” of bias tape. Your cut pieces should look like the image below.

STEP 2: CREATE BIAS TAPE
I like to create a bunch of bias tape in one sitting and cut off the roll for creating masks. We will need 86” of bias tape and will create it using our 1.5” strips we just cut. Sew your strap strips together at a 45 degree angle as shown in the photo so you end up with one long continuous 1.5” wide strip.
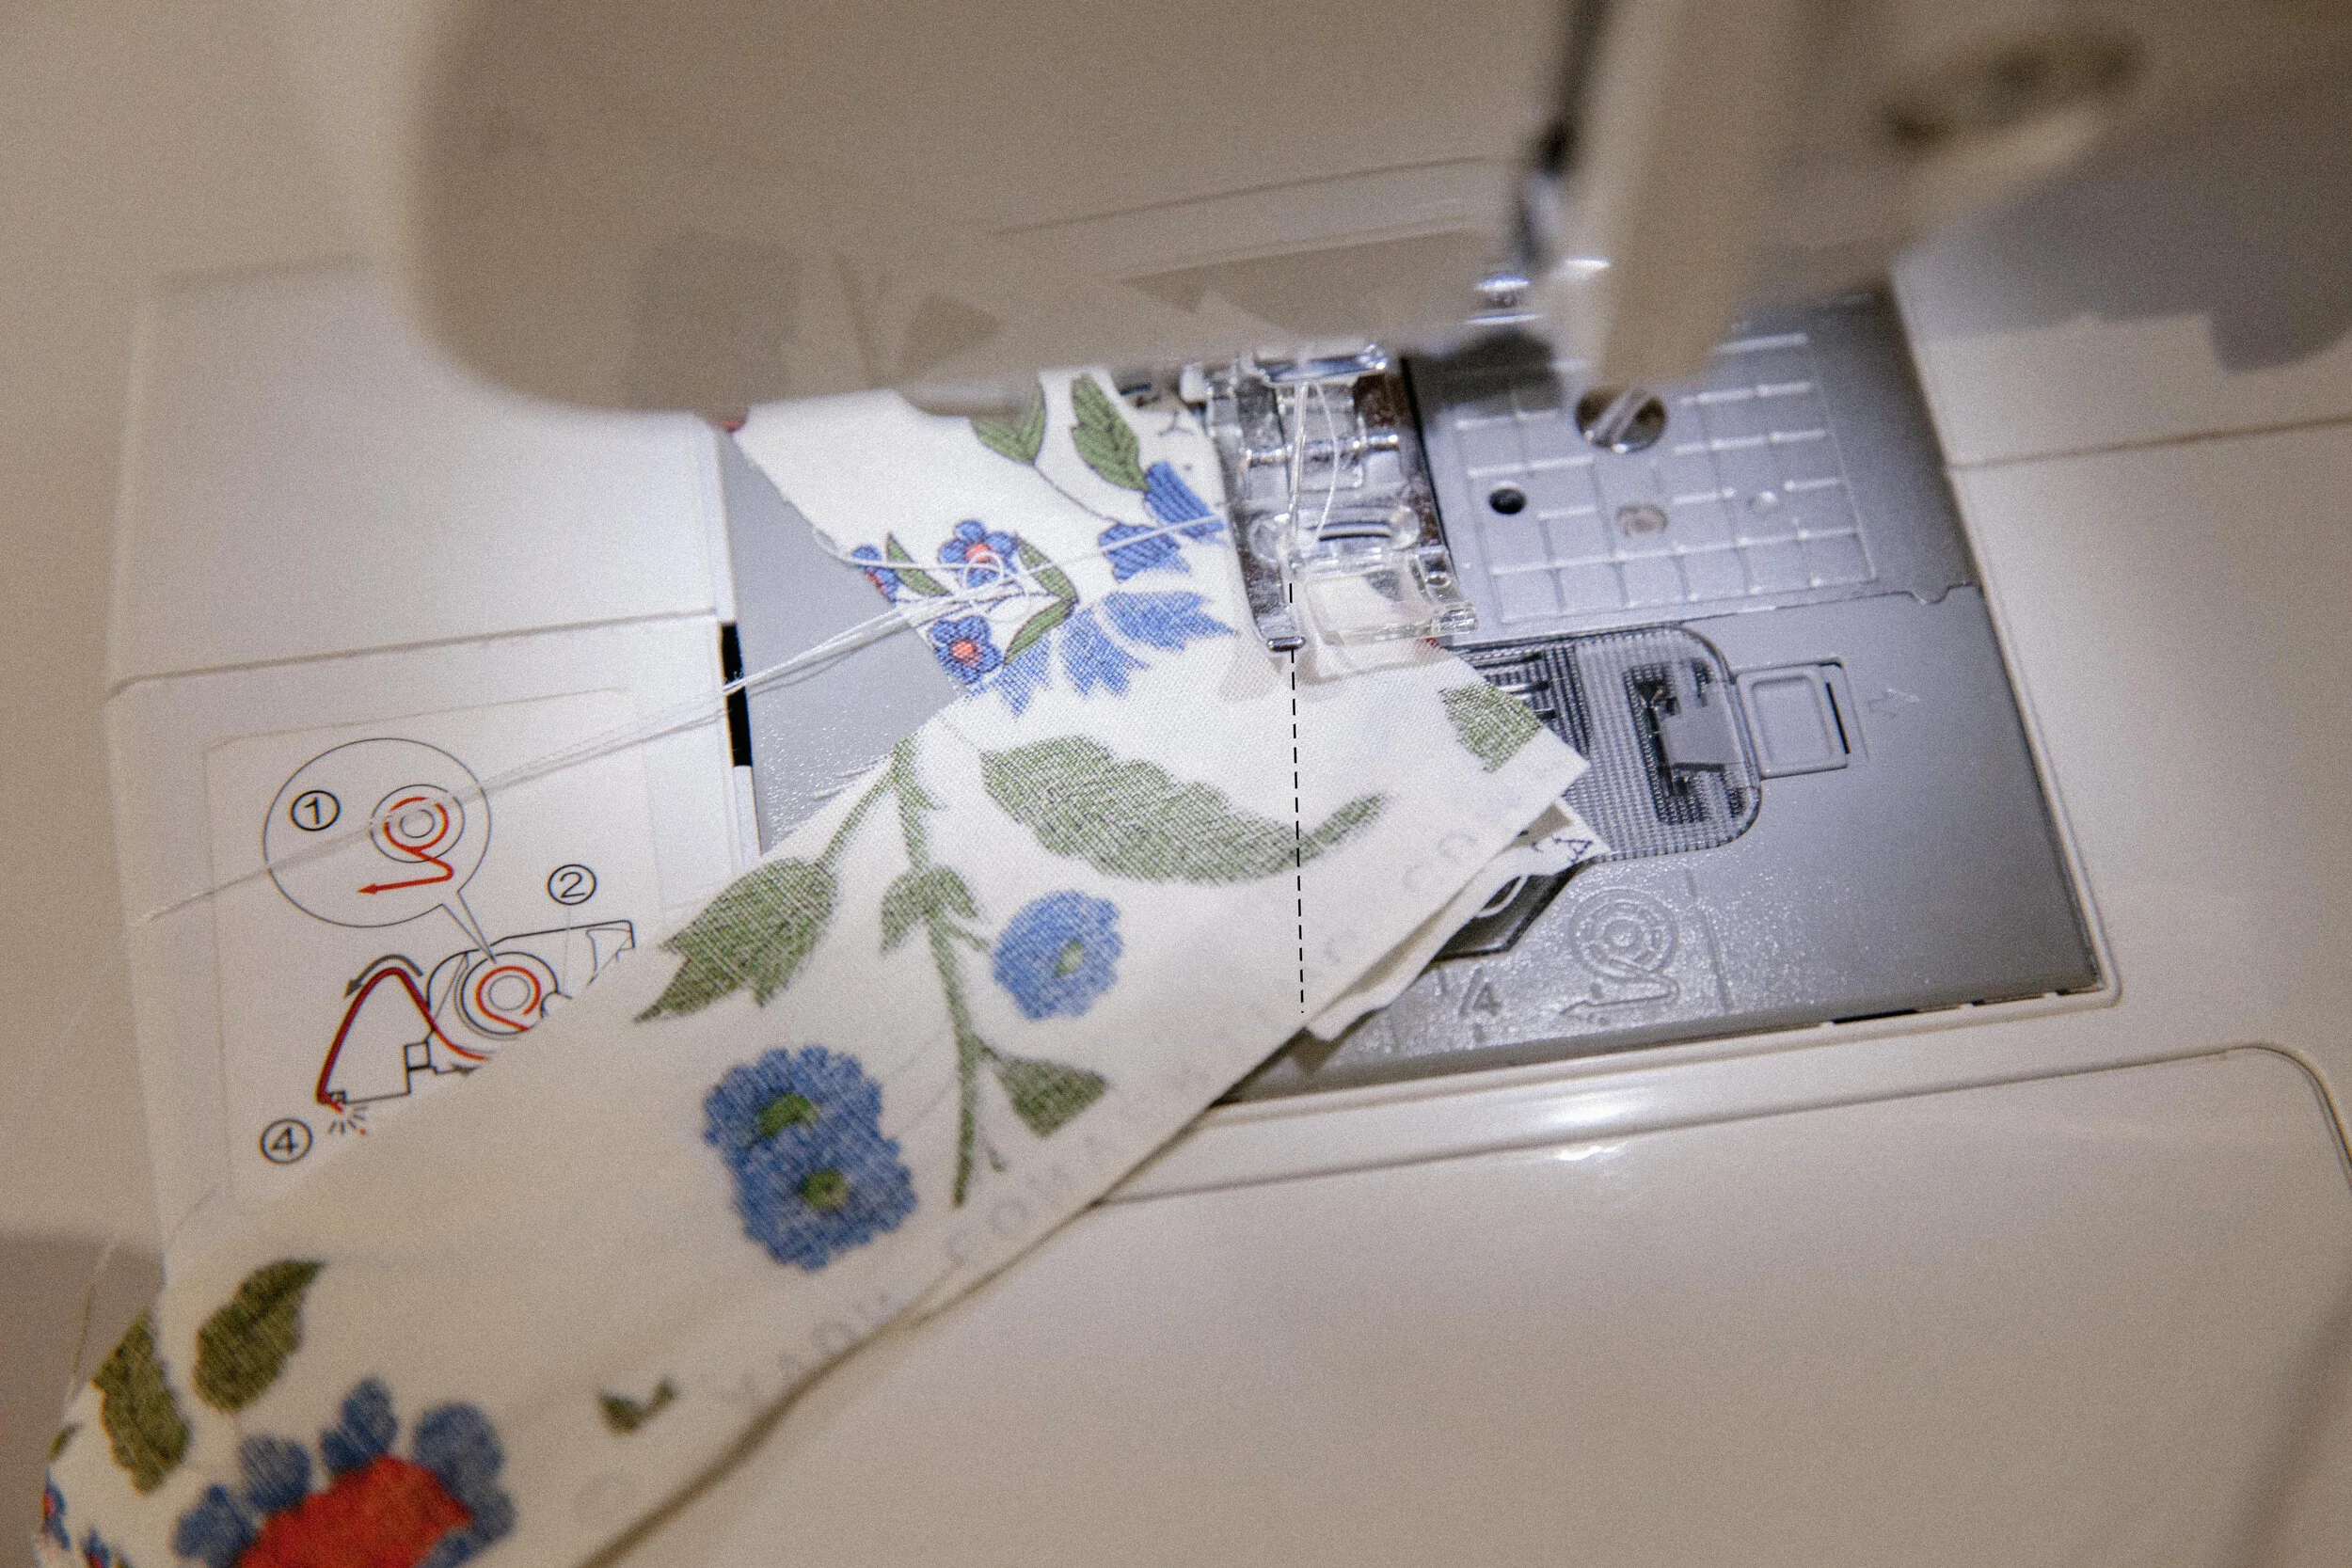
Trim the edges of your seams and press out. With the wrong side of your fabric facing up, feed your strip through a bias tape maker and iron initial fold. Pin the bias tape to your iron and pull the bias tape maker along the 1.5” strip, ironing as you go.
NOTE: If you don’t have a bias tape maker (like me until just recently) you can use this handy old pin on the iron trick.

Lastly, fold that strip in half and iron flat. You should now have plenty of bias tape to use for your straps!

STEP 3: SEW 2 MASK PIECES TOGETHER
Stack two main pieces of mask material on top of each other with right sides out and pin into place (if necessary…my fabric didn’t want to shift at all so I didn't need to use pins). Sew along all edges using a 1/2” seam allowance.


STEP 4: ADD PLEATS TO MASK
With top of mask (pointed side) up, create 3 evenly spaced tucks on your mask. Make sure all the tucks are all folded towards the top of your mask. Press the tucks with a hot iron and pin into place.

Once pleats are made, the edges of the mask should measure roughly 3” wide.

Measure and adjust tucks as needed before sewing the left and right side with a 1/2” seam allowance.

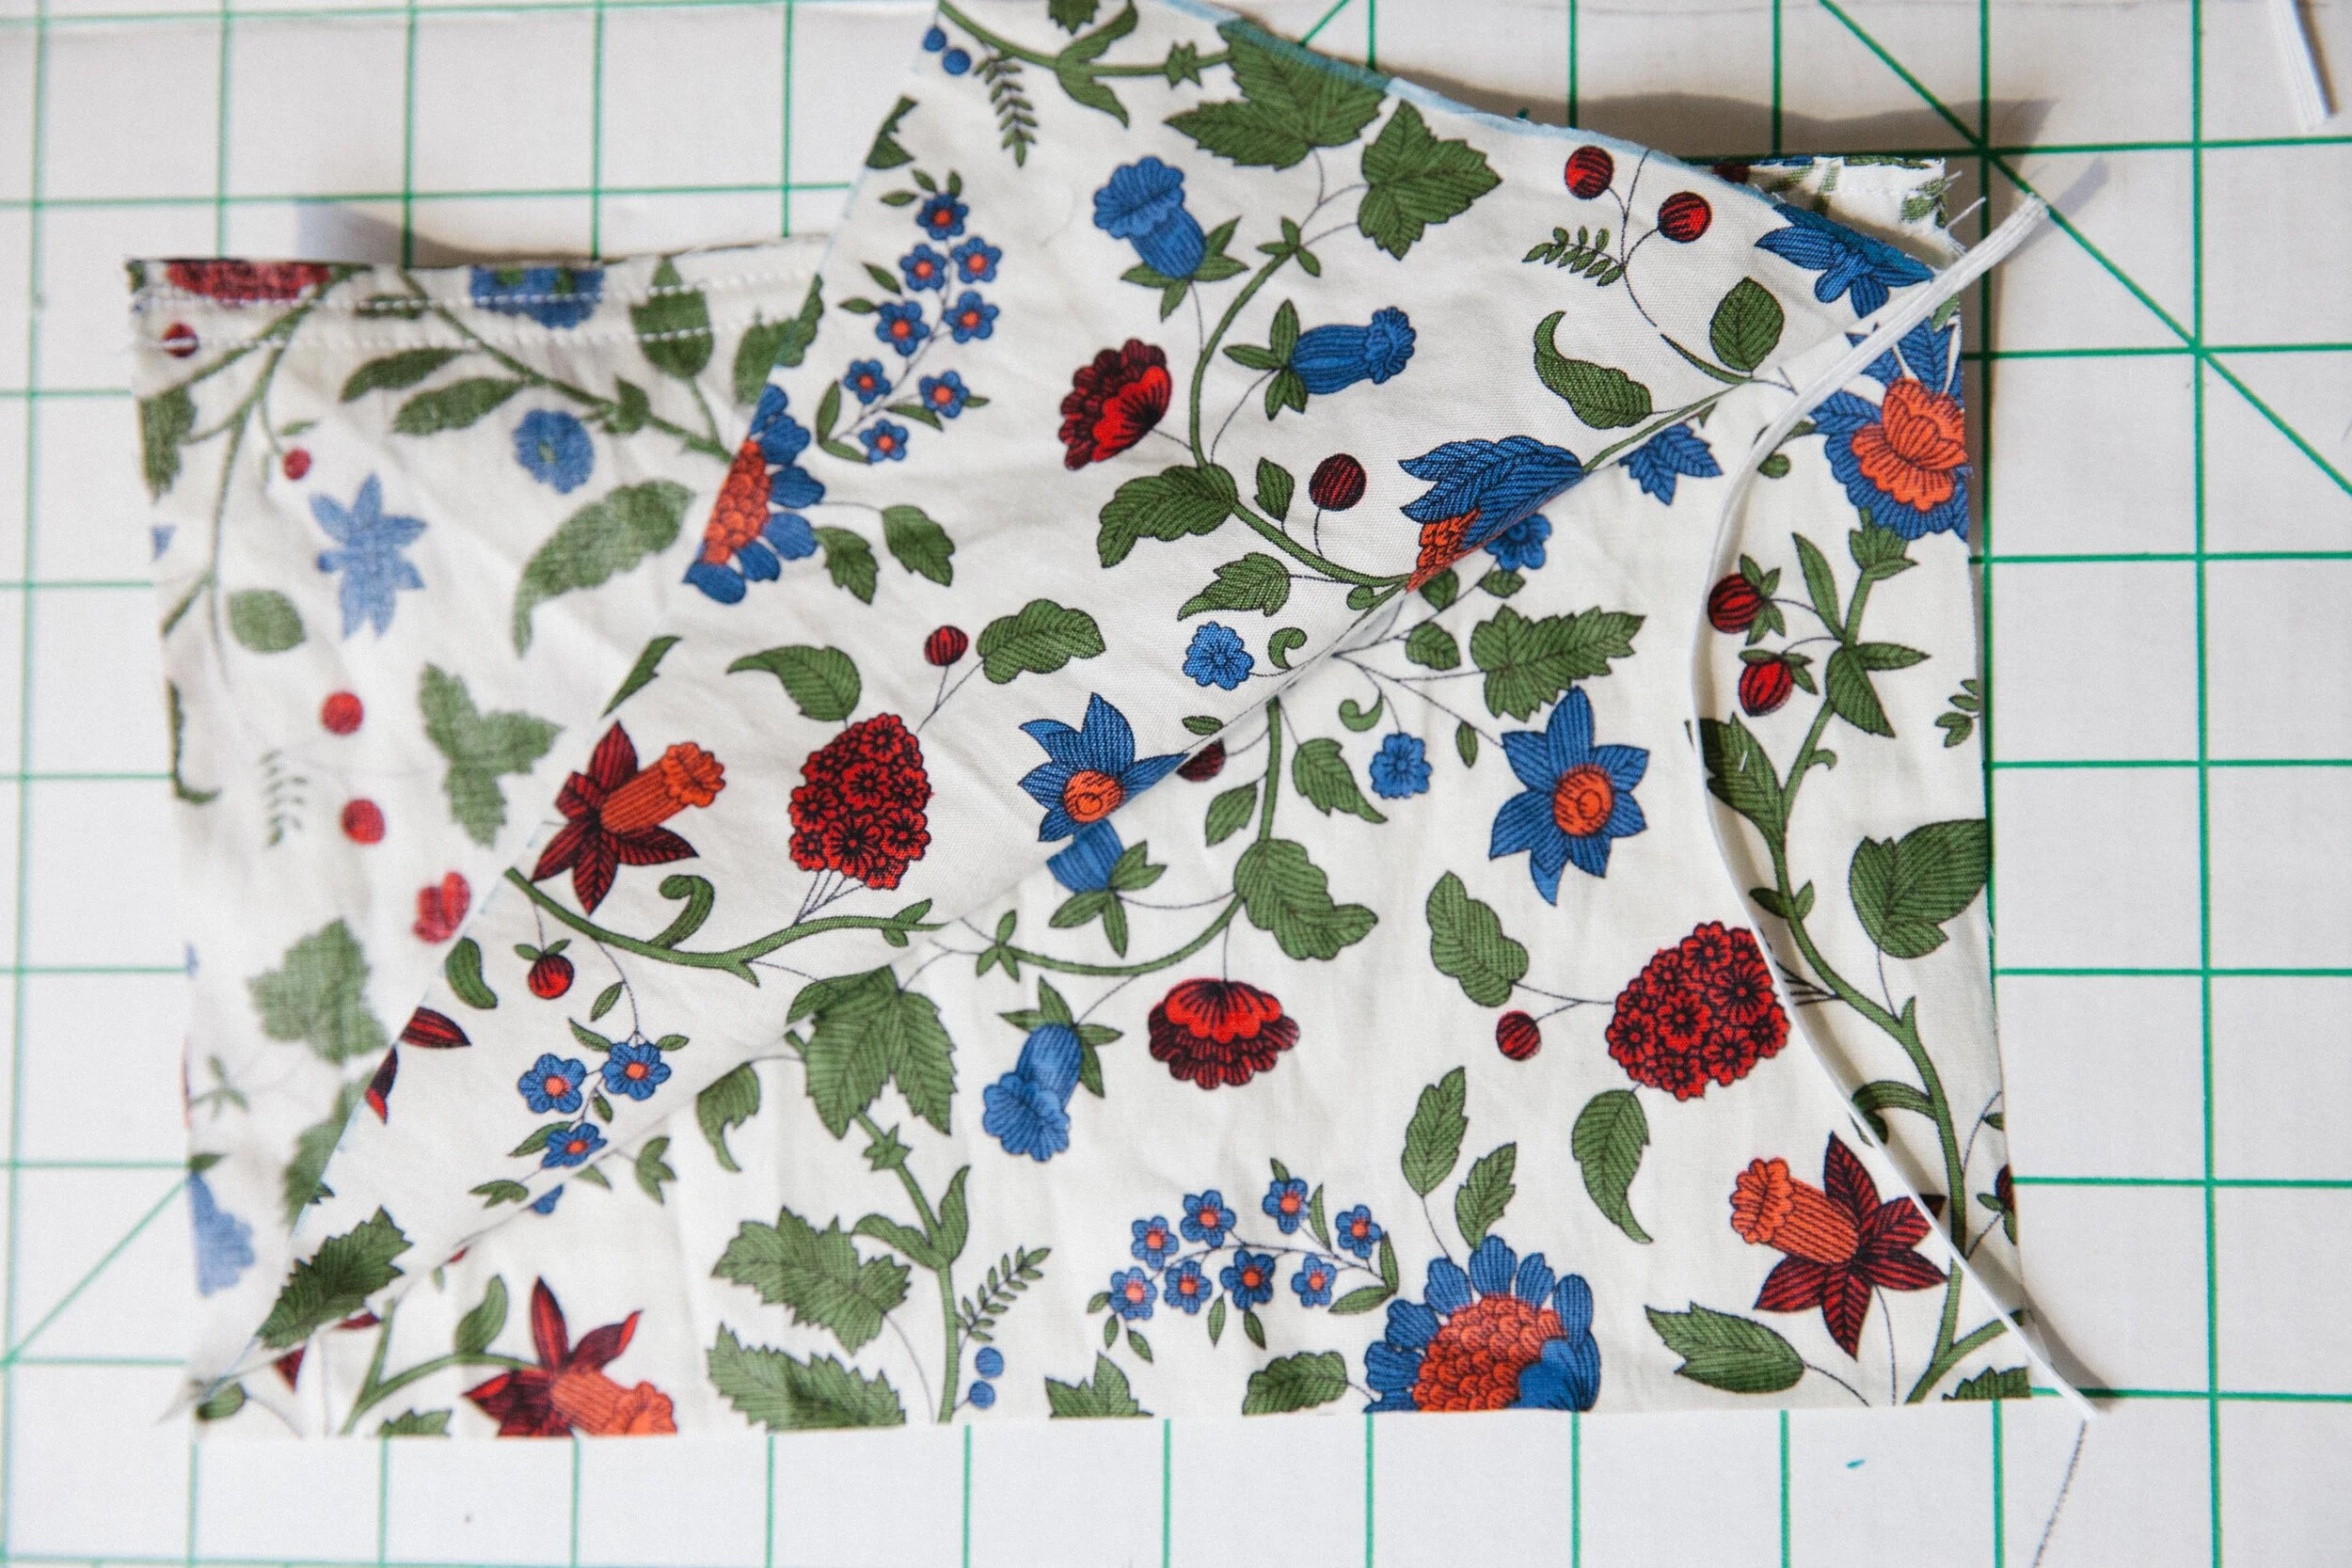
STEP 5: SEW DARTS & TRIM
Place mask piece with pleats going towards the top point of your mask face up in front of you (like it was in the last step). This will be the inside of your mask. Fold mask in half lengthwise so the inside of the mask is facing out. Use your pattern to mark darts on the mask with chalk. Sew along darts twice for good measure. Trim all seams to 1/4” including dart fabric you just sewed.


STEP 6: ATTACH BINDING
Cut two 3” strips of binding for the left and right side of the mask and two 40” strips of bias tape for the top and bottom binding.

Fold 3” pieces of binding around the raw edge on the right side of your mask. Sew 1/8” away from the edge of the binding but be sure to catch both sides of binding. Repeat on the left side of your mask.


Fold 40” pieces of bias tape trim in half. Mark center with chalk. Fold first 40” of bias tape around top seam of your mask and be sure the center of the bias tape matches up with the center point of your mask. Your top trim piece will cover the top edge of the trim on the right and left of your mask. Pin or clip into place and beginning at the center of your mask, sew 1/8” away from the trim as you did with the left and right pieces.
Continue sewing down the trim piece beyond the mask to create a strap.
When you get towards the end of your trim, stop and cut the end of your trim piece at a 45 degree angle. Open up your trim piece so it makes a triangle instead of a square at the end. Fold the triangle into the trim piece and fold your trim piece back shut for a clean edge (see pics for clarification). You now have a clean edge to sew shut for the end of your strap.

Continue sewing down the strap with 1/8” seam allowance and when you reach the end leave your needle in the fabric and pivot your presser foot to sew the end of the strap shut. Repeat on opposite side of the top strap.
Repeat entire process on bottom half of mask.

Congrats you are done with your durable n95 mask cover or alternative for healthcare providers! The fabric straps ensure it will survive daily trips to the hospital laundry and can be reused over and over to further protect those on the frontlines from coronavirus!


Our second pattern is a n95 mask alternative with elastic straps and adjustable wire which can be contoured to your face for better protection. It can be used as an alternative when n95s aren’t available but will not provide the same level of protection as an n95 mask. This pattern is adapted from this amazing tutorial but I added the wire here for better protection!

-Fat Quarter of tightly woven cotton or similar material, (the tighter the weave the better)
-Elastic (I used 1/8” flat elastic)
-Wire or Pipecleaner
-Thread
-Fabric Scissors
-Ruler
-Iron
-Pins
STEP 1: CUT YOUR MATERIALS
Cut the following:
-two 9” x 6” rectangles of fabric for your main mask piece
-two 7” strips of elastic
-one 8” piece of wire (or pipecleaner)

Prepare wire by turning under sharp edges on both sides. This will prevent the wire from poking through the mask with wear.

STEP 2: PREPARE WIRE INSERT
Place right sides of fabric pieces together. Sew along the top edge using a 1/4” seam allowance. Sew one more row of stitches 1/4” - 1/2” below that. This will be the place where you can insert your wire so make the opening the appropriate size for the wire or pipe cleaner you are using.

Insert your wire into the opening you just created until it is fully encased in the mask.

STEP 3: INSERT ELASTIC
Pin elastic pieces to each 6” side of the mask with edges sticking out the corners. Begin sewing around the remaining edges of the mask with 1/2” seam allowance. Be sure to catch the elastic and backstitch several times over it to secure it in place. Leave a 1” opening at the bottom of the mask to turn it inside out.


STEP 4: ADD PLEATS & FINISH
Turn your entire mask right side out (bending wire as needed to feed fabric through the 1” opening you left at the bottom of the mask). Iron your mask flat. Pin 3 evenly spaced tucks in your mask going the same direction. Iron tucks on high heat.


